Author: Crafting The Word Of God
Christmas Angel
With Christmas just around the corner I decided to start my Christmas crafts early this year.
To get us started here’s a cute and simple angel craft.

Instructions
- Print the template onto card stock. (Template)
- Color and cut out all of the pieces.
- Before you assemble the angel, if you wish you can add glitter onto the stars. Give the glue enough time to dry.
- Take the wings and fold on the dotted lines.
- Add glue to where both sides of the angel dress meet. To make sure it doesn’t come apart add a piece of tape to the inside of the dress.
- Finally glue on the wings to the body of the angel.
Update: Vacation Bible School 2014

POLL CLOSED!
After two months the poll has closed and the winner is…. Lifeway’s Agency D3. As the winning V.B. S. program I will make three different crafts for each of the five days of the program. This way you can pick and choose wich ones you prefer.
For the three programs that tied for second place, (Weird Animals– Group, Wilderness Escape– Group), and Workshop Of Wonders– Cokesbury) I will try, and I emphasize the word TRY, to come up with at least one craft for each of the days of the program. But since they came in second place I cannot give a guarantee that I will be able to do this.
Now that the poll has closed I’ll have the winning V.B.S program’s crafts ready mid-spring, just a few months away. So keep your eyes out for my V.B.S 2014 crafts.
Lifeway’s Agency D3
Adam And Eve Paper Dolls
Looking for a new way to tell the story of Adam and Eve? Well why not tell the story using paper dolls. The best part about these dolls is that the children can make them as a craft and then use them to retell the story to their friends and family.
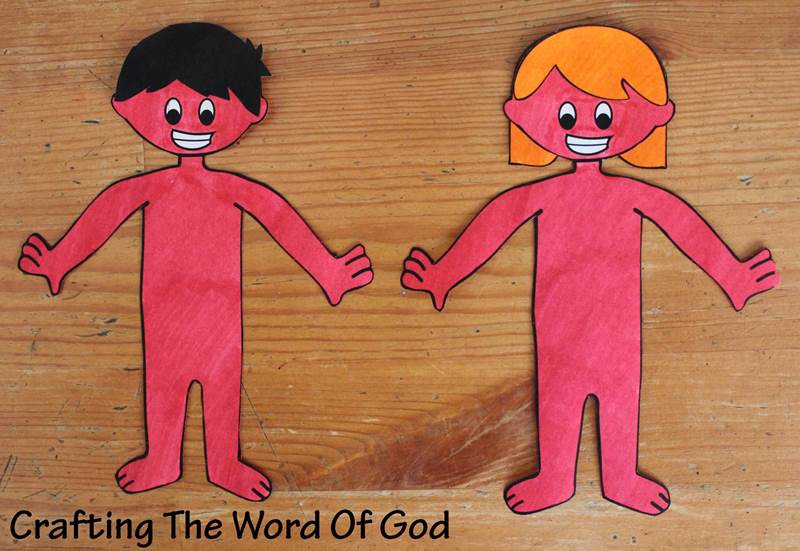
Adam And Eve Created

Adam And Eve When They Fell
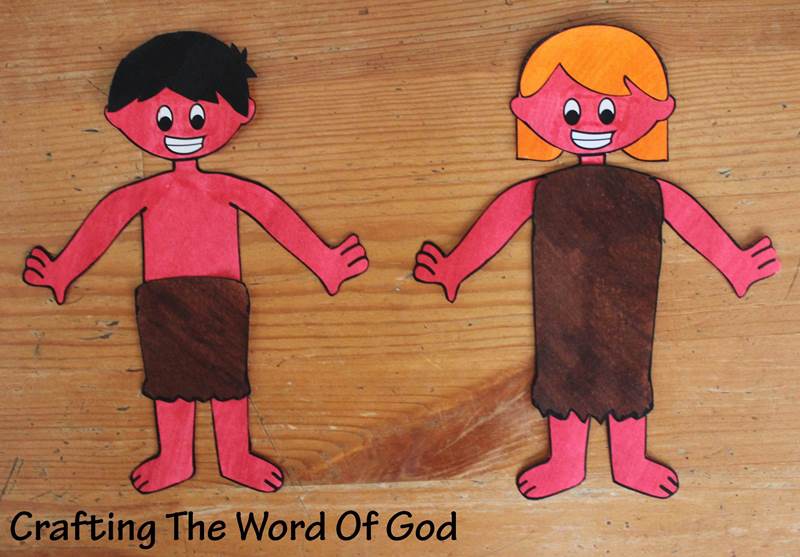
Adam And Eve When God Clothed Them
Instructions
- Print the template. (Template)
- Color and cut out all of the pieces.
- Glue the hair pieces to the bodies.
- Using double sided tape stick on the fig leaves to the bodies when you reach that part of the story.
- Using double sided tape stick on the clothes over the fig leaves when you reach that part of the story.
If you like you can have three separate dolls for both Adam and Eve. A separate doll for each part of the story.
Scarecrow Puppet

Instructions
- Print the template. (Template)
- Color and cut out all of the pieces.
- Assemble the puppet by sticking metal brads/ paper fasteners through the holes in each of the arms and legs and also on the body of the puppet.
- Bend the legs of the metal brads/ paper fasteners to hold the pieces together.
Thanksgiving Cornucopia

Instructions
- Print the template. (Template)
- Color and cut out the leaves and vegetables.
- Color the cornucopia. You can choose to either cut it out or leave it on the sheet of paper.
- Glue the vegetables and leaves to the circular part of the cornucopia.
Thanksgiving Turkey Basket


Instructions
- Print the template onto card stock. On one side print the circle pattern and on the other side of the circle pattern print the feather pattern. (Template)
- Color and cut out all of the pieces.
- Assemble the basket/body: Take the circle and cut on the four dotted lines. On the circle, fold the solid lines to make creases. Add glue one at a time to each corner of the circle, bring them in and glue them to the back of the squarish parts to form the basket shape.
- Glue the head and wings to the basket.
- Finally add to the back of the basket either the fan feather design or the individual feather design.
Fill the baskets with nuts, candies or crayons.
Thanksgiving Welcome Sign
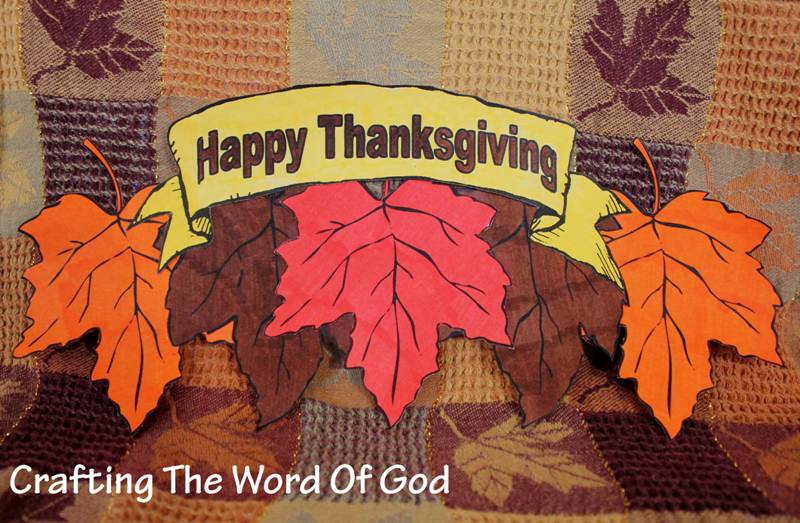
Instructions
- Print the template onto card stock. (Template)
- Color and cut out all of the pieces.
- Glue the leaves together.
- Finally glue the banner to the top of the leaves.
Pin the sign to the wall or door or hang it with string.
Paper Plate Scarecrow

Instructions
- Print the template. (Template)
- Paint a paper plate yellow, light brown or skin color.
- Color and cut out all of pieces.
- Assemble the flower and glue it onto the hat.
- To the bottom of the hat, glue strips of yellow, orange or gray construction paper.
- Glue the finished hat to the top of the paper plate.
- Next glue on the nose and cheeks.
- Finish the craft by using a permanent marker to draw on the eyes, details to the nose and the mouth.
If you choose you can include the bow or leave out the flower.
Leaf Sun Catcher

Instructions
- Print the template. (Template)
- Glue the template sheet to the back of a sheet of black construction paper.
- Cut out all of the white from the template. You will be left with the leaf border shape.
- Place the leaf shape onto a self laminating sheet or contact paper, construction paper side down.
- Fill in the inside of the leaf with squares of red, yellow, orange and brown tissue paper.
- Cover with another sheet of self laminating sheet or contact paper.
- Cut out the leaf from the laminating sheet or contact paper.
- Stick the leaf/ leaves to the window with double sided tape.
I Am Thankful For…
Thanksgiving is the one day a year that we set aside to remember all the things that we are thankful for. Many times we can remember the big things, but we forget to thank God for all the little things we take for granted.
This craft will remind your kids of how blessed they are and the need to be grateful for all that they have.
“In everything give thanks; for this is God’s will for you in Christ Jesus.” 1 Thessalonians 5:18
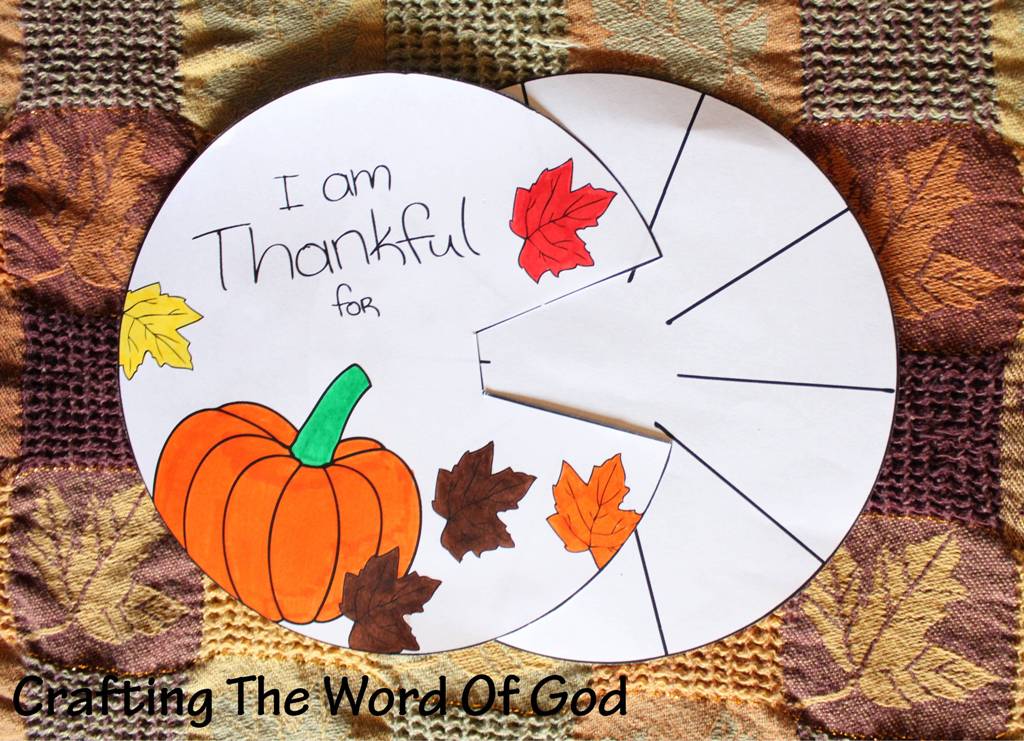
Instructions
- Print the template. (Template)
- Color and cut out both circles.
- Make a small hole into the middle of the circles and stick a metal brad through it. Open and bend the legs.

You must be logged in to post a comment.