bible crafts
The Perfect Homemade Playdough
Are you looking for the perfect homemade playdough recipe. Look no more.
This playdough recipe is simple and the results are fantastic; silky and smooth playdough.

If you are looking for a recipe that does not include cream of tartar, good luck. I have spent years looking for that elusive unicorn with no luck. If you find a recipe that does not include cream of tartar the results are not as ideal. The dough is either too crumbly, sticky or lumpy.
Keep your eyes out for when cream of tartar goes on sale in your local supermarket or buy it in bulk on Amazon. The extra cost is really worth it.
This recipe will make enough playdough for four medium sized balls or you can make large batches of a single color.
Ingredients
- 2 cups flour
- 2/3 cup salt
- 4 teaspoons cream of tartar
- 2 cups water
- 2 tablespoon vegetable oil
- Food Coloring
- Add the flour, salt, and cream of tartar into a large saucepan.
- Add in the oil and water. Make sure that there are no lumps.
- If you will be doing one large batch add in your food coloring until you get the desired color intensity. If you will be doing a variety of colors leave the food coloring out.
- Place the large saucepan on medium heat and continually stir. You know it is done when it forms into a ball and pulls away from the sides of the saucepan.
- If you did not make a large batch, divide the dough into four equal pieces.
- Add a different color of food coloring to each piece.
- Kneed the dough to incorporate the food coloring.

Lying Lips Are An Abomination To The Lord
God hates it when we lie! When we lie we are going against His very nature John 14:6. God hates lying so much that He included it as one of the Ten Commandments.
We can clearly see how serious God is about lies and this is what we want our kids to learn as well. They need to understand that God hates it when we lie. That lying is a serious sin.
“Lying lips are an abomination to the Lord, But those who deal faithfully are His delight.” Proverbs 12:22
It ruins friendships and characters. It hurts others and it can even influence others to sin as well.
Take this opportunity to correct the worlds false view of lying. The world believes in half-truths and “white” lies, but Gods Word shows us that a lie is a lie. They need to comprehend that when we lie we hurt others.
Tell your kids that it takes love to tell someone the truth, even when they know they will be hurt by their response; making an emphasis on the fact that the truth needs to be said lovingly. Teaching them that we need to practice sincere honesty with our family, friends, and in the church.

Instructions
- Print the template onto card stock. (Template)
- Color and cut out all of the pieces.
- Take the tongue piece and fold on the solid line, creating a crease.
- Glue the tongue to the lips.
- If your have boys they can glue on the mustache.
- Glue a large popsicle stick to the back of the lips. It will serve as a handle.
This craft might look silly, but it will help your kids remember this important biblical truth.
Basic Christmas Wreath
Why spend 40 dollars on a Christmas wreath, when you can have one decorated by one of your kids?
This is a very basic Christmas wreath craft. Its great to do with your kids because you can easily build on it and decorate it as you wish. Let your kids use their imagination.

Directions
- Print the template. You will need at least two of the leaf pattern pages. (Template)
- Color and cut out all of the pieces.
- Cut out the center from a paper plate, leaving a ring.
- Glue the leaves in random order onto the paper ring.
- Finally glue on the ribbon.
Here’s were you get to use your imagination. You can use practically anything to decorate this wreath: pompoms, stickers, glitter, beads, craft feathers, string, foam stickers, ribbon, tissue paper, sequence, buttons, cranberries, popcorn, craft jewels, jewel garlands, plastic poinsettias. The possibilities are endless.
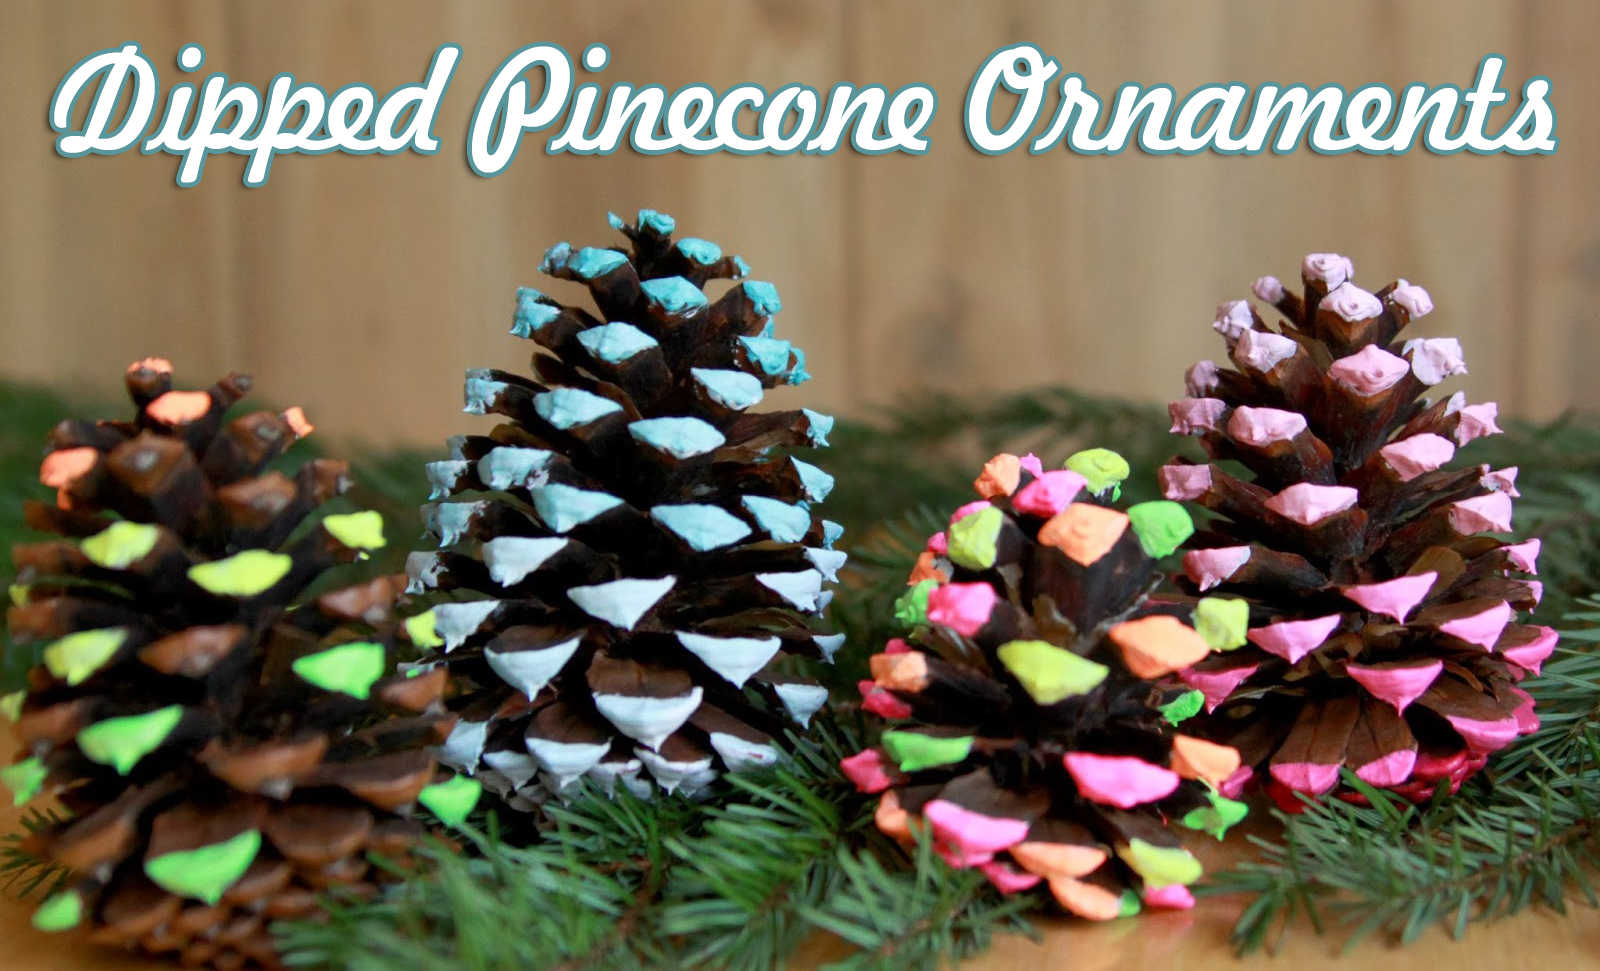
Dipped Pine Cone Ornaments
Today’s post comes from a guest blogger, Mary-Kate Warner from Christianity Cove, sharing how a simple pine cone can teach our kids a great message this Christmas season.
The pine cone is the only Christmas ornament that can be found on the forest floor. It is simple, free and beautiful, just like our salvation. But it is also complex like God’s wonderful universe. While making pine cone ornaments, kids can come to better understand our relationship with the Almighty.
Materials
- Pine Cones, Different Sizes
- Acrylic Paint, Variety Of Colors
- Paint Brushes, One For Each Child
- Wax paper
- Glue
- Glitter
- Red Or Green Ribbon, Thin
Instructions
1. Paint the pine cone in whatever paint combination you choose. You can either just paint the tips or paint by immersion—whichever works best for you. (Immersion is messier!)
2. Place the pine cone, wide side down, onto wax paper.
3. Allow it to completely dry.
4. Brush the dry, painted tips with smaller bits of white, if desired. Or you can brush tips with glue and sprinkle with glitter to add some extra sparkle.
5. Thread a piece of red or green ribbon through the pine cone on the bottom of the base. Tie a knot and leave enough length of ribbon so it can be tied to a tree branch or bow of a Christmas package.
Discussion
Pine cones make great Christmas decorations. They’re beautiful, aren’t they? And we can find them on the forest floor…they’re like free gifts from God! How is a pine cone like our salvation? Our salvation is also a free gift from God that is very beautiful.
Do you know what a pine cone actually is? It is a seed pod. It carries the seeds of the pine tree to make other pine trees. It’s amazing! The pine cone just tumbles around…being its beautiful self…and other pine trees are born because of it. If we are Christians, what can happen if we act like a pine cone? We can share God’s love and make others aware that God loves them.
When we place our pine cones on our Christmas trees, or gift wrap presents using our pine cone, let’s remember that people can see God’s love and reap God’s great reward of salvation by watching us!
“Let your light shine before men in such a way that they may see your good works, and glorify your Father who is in heaven.” Matthew 5:16
Mary-Kate is a regular blogger at Christianity Cove. You can often find her writing about Christian Motherhood, Homeschool Teaching, Bible Study and Sunday School Activities, Faith and inspiring children to love God.
Candy Cane Jesus
The Legend Of The Candy Cane…
Look at a candy cane and what do you see? Stripes that are red like the blood shed for me. White for my Savior, who is sinless and pure. “J” is for Jesus, my Lord, that’s for sure! Turn it around and a staff you will see- Jesus, my shepherd is coming for me!
Many times during this Christmas season we get caught up in material things. Presents, decorations and food. It’s important to take the time to remember that those things have trully nothing to do with Christmas. The true meaning of Christmas is Christ. And that is exactly what this craft will do.
“She will bear a Son; and you shall call His name Jesus, for He will save His people from their sins.” Matthew 1:21

Instructions
- Print the template. (Template)
- Color and cut out all of the pieces.
- Glue the baby onto a sheet of yellow construction paper.
- Cut out the baby from the construction paper, leaving a border of yellow construction paper.
- Cut slits along the border of the construction paper at different intervals and angels.
- At this point if you like, you can decorate the candy cane with glitter. Allow the enough time for the glitter to dry.
- Finally glue the baby onto the candy cane.
Christmas Angel
With Christmas just around the corner I decided to start my Christmas crafts early this year.
To get us started here’s a cute and simple angel craft.

Instructions
- Print the template onto card stock. (Template)
- Color and cut out all of the pieces.
- Before you assemble the angel, if you wish you can add glitter onto the stars. Give the glue enough time to dry.
- Take the wings and fold on the dotted lines.
- Add glue to where both sides of the angel dress meet. To make sure it doesn’t come apart add a piece of tape to the inside of the dress.
- Finally glue on the wings to the body of the angel.
Adam And Eve Paper Dolls
Looking for a new way to tell the story of Adam and Eve? Well why not tell the story using paper dolls. The best part about these dolls is that the children can make them as a craft and then use them to retell the story to their friends and family.
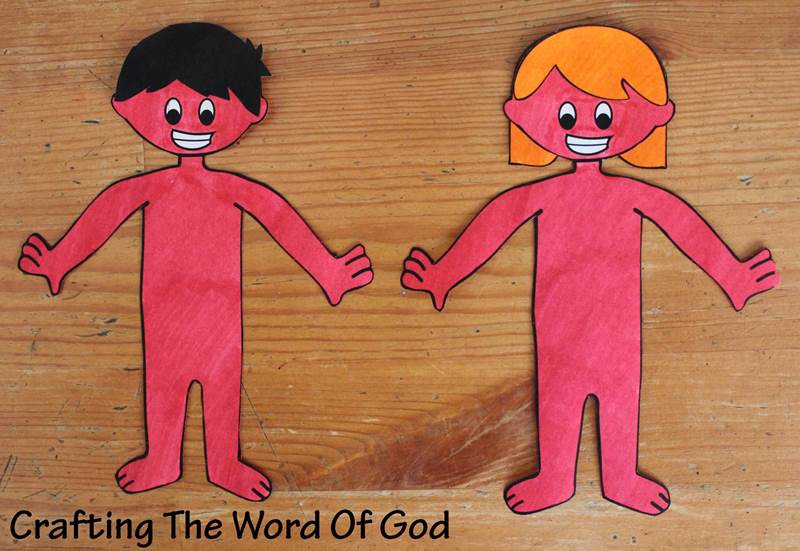
Adam And Eve Created

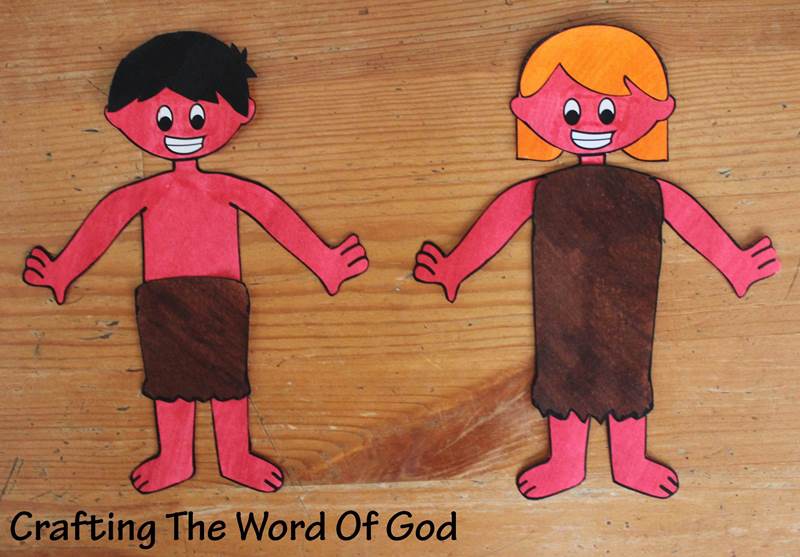
Adam And Eve When They Fell
Adam And Eve When God Clothed Them
Instructions
- Print the template. (Template)
- Color and cut out all of the pieces.
- Glue the hair pieces to the bodies.
- Using double sided tape stick on the fig leaves to the bodies when you reach that part of the story.
- Using double sided tape stick on the clothes over the fig leaves when you reach that part of the story.
If you like you can have three separate dolls for both Adam and Eve. A separate doll for each part of the story.
Go Into All The World And Preach The Gospel
“Go into all the world and preach the gospel to all creation.” Mark 16:15
This commandment from Jesus shows us the importance of witnessing to others. Teach your kids that they can witness anywhere they are and with who ever they are with. They can grow up to be missionaries and preach the gospel around the world or they can witness with their friends at school.
“…and you shall be My witnesses both in Jerusalem, and in all Judea and Samaria, and even to the remotest part of the earth.” Acts 1:8

This simple craft will be a great reminder that they can witness:

At Home
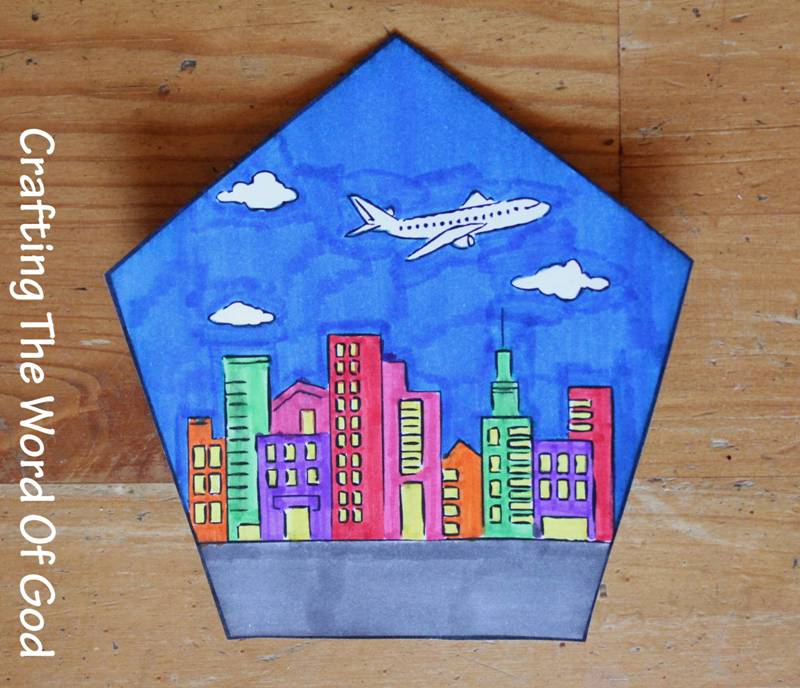
In Their City

In Their State
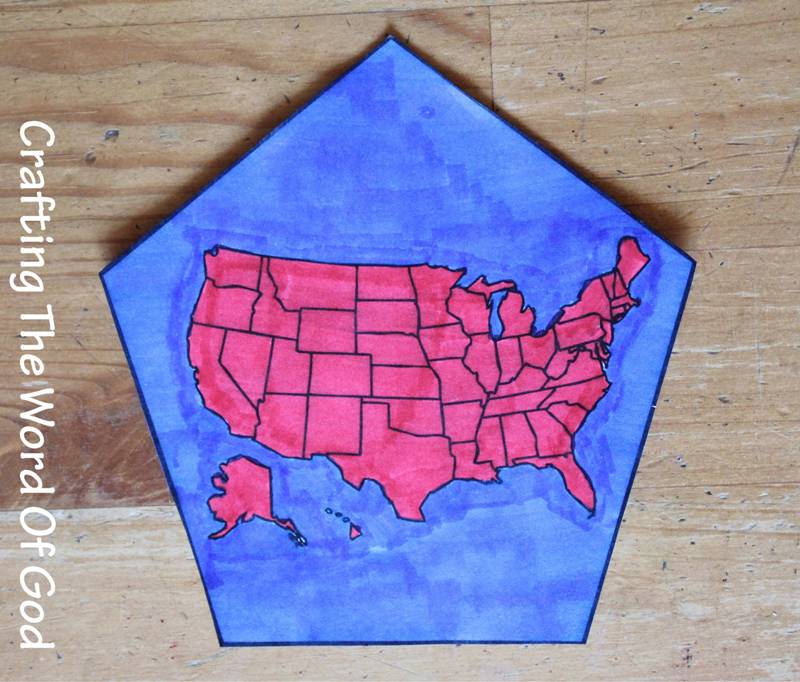
In Their Country
I forgot to include a picture of the continent piece, but it is available in the template.
In Their Continent

And Around The World
Instructions
- Print the template. (Template)
- Color and cut out all of the pieces. For the state pentagon have the kids draw in their state. For the country pentagon have the kids draw in their country. You can also print a picture from the internet and glue it on.
- Glue on the continent to the continent pentagon.
- Hold all the pieces together with a metal brad or metal book ring.
I have included cover pieces if you with to use them. (Cover Template)
Jesus Calms The Storm
This craft is simple, but fun. It will help reinforce the story of Jesus calming the sea. It’s a nice reminder that when the world is raging around us, God is in control of it all.
“35 That evening, Jesus said to his disciples, “Let’s cross to the east side.” 36 So they left the crowd, and his disciples started across the lake with him in the boat. Some other boats followed along.37 Suddenly a windstorm struck the lake. Waves started splashing into the boat, and it was about to sink. 38 Jesus was in the back of the boat with his head on a pillow, and he was asleep. His disciples woke him and said, “Teacher, don’t you care that we’re about to drown?” 39 Jesus got up and ordered the wind and the waves to be quiet. The wind stopped, and everything was calm.” Mark 4:35-39


Instructions
- Print the templates. (Template)
- Color the templates.
- Cut out the templates.
- Make a small hole with scissors or a pin on the black dot in the middle of the circle and on the boat. Stick a metal brad through it. Open and bend the legs.
Now turn the circle. The skies will go from rain and thunder to calm and sunny.

You must be logged in to post a comment.