Bible Crafts
Lying Lips Are An Abomination To The Lord
God hates it when we lie! When we lie we are going against His very nature John 14:6. God hates lying so much that He included it as one of the Ten Commandments.
We can clearly see how serious God is about lies and this is what we want our kids to learn as well. They need to understand that God hates it when we lie. That lying is a serious sin.
“Lying lips are an abomination to the Lord, But those who deal faithfully are His delight.” Proverbs 12:22
It ruins friendships and characters. It hurts others and it can even influence others to sin as well.
Take this opportunity to correct the worlds false view of lying. The world believes in half-truths and “white” lies, but Gods Word shows us that a lie is a lie. They need to comprehend that when we lie we hurt others.
Tell your kids that it takes love to tell someone the truth, even when they know they will be hurt by their response; making an emphasis on the fact that the truth needs to be said lovingly. Teaching them that we need to practice sincere honesty with our family, friends, and in the church.

Instructions
- Print the template onto card stock. (Template)
- Color and cut out all of the pieces.
- Take the tongue piece and fold on the solid line, creating a crease.
- Glue the tongue to the lips.
- If your have boys they can glue on the mustache.
- Glue a large popsicle stick to the back of the lips. It will serve as a handle.
This craft might look silly, but it will help your kids remember this important biblical truth.
Candy Cane Jesus
The Legend Of The Candy Cane…
Look at a candy cane and what do you see? Stripes that are red like the blood shed for me. White for my Savior, who is sinless and pure. “J” is for Jesus, my Lord, that’s for sure! Turn it around and a staff you will see- Jesus, my shepherd is coming for me!
Many times during this Christmas season we get caught up in material things. Presents, decorations and food. It’s important to take the time to remember that those things have trully nothing to do with Christmas. The true meaning of Christmas is Christ. And that is exactly what this craft will do.
“She will bear a Son; and you shall call His name Jesus, for He will save His people from their sins.” Matthew 1:21

Instructions
- Print the template. (Template)
- Color and cut out all of the pieces.
- Glue the baby onto a sheet of yellow construction paper.
- Cut out the baby from the construction paper, leaving a border of yellow construction paper.
- Cut slits along the border of the construction paper at different intervals and angels.
- At this point if you like, you can decorate the candy cane with glitter. Allow the enough time for the glitter to dry.
- Finally glue the baby onto the candy cane.
Christmas Angel
With Christmas just around the corner I decided to start my Christmas crafts early this year.
To get us started here’s a cute and simple angel craft.

Instructions
- Print the template onto card stock. (Template)
- Color and cut out all of the pieces.
- Before you assemble the angel, if you wish you can add glitter onto the stars. Give the glue enough time to dry.
- Take the wings and fold on the dotted lines.
- Add glue to where both sides of the angel dress meet. To make sure it doesn’t come apart add a piece of tape to the inside of the dress.
- Finally glue on the wings to the body of the angel.
Adam And Eve Paper Dolls
Looking for a new way to tell the story of Adam and Eve? Well why not tell the story using paper dolls. The best part about these dolls is that the children can make them as a craft and then use them to retell the story to their friends and family.
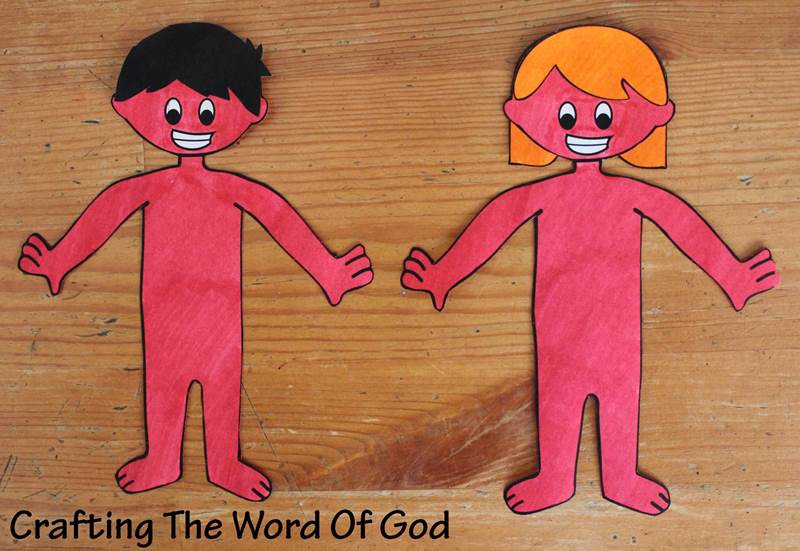
Adam And Eve Created

Adam And Eve When They Fell
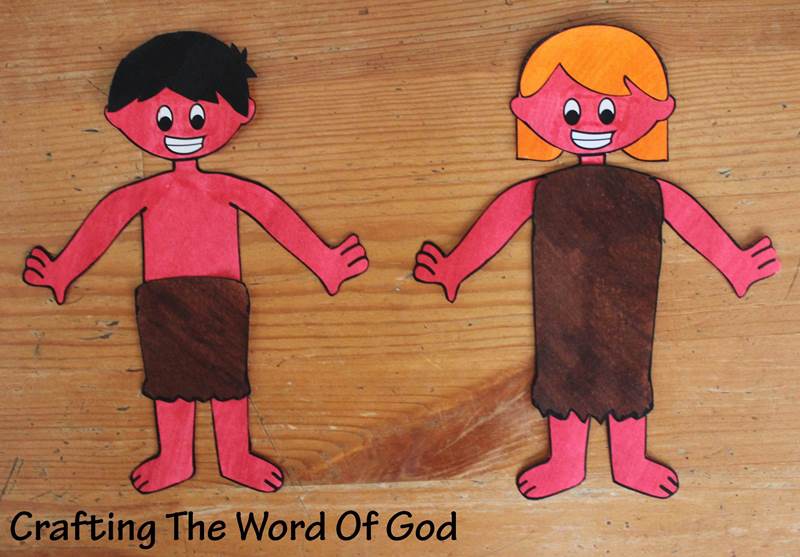
Adam And Eve When God Clothed Them
Instructions
- Print the template. (Template)
- Color and cut out all of the pieces.
- Glue the hair pieces to the bodies.
- Using double sided tape stick on the fig leaves to the bodies when you reach that part of the story.
- Using double sided tape stick on the clothes over the fig leaves when you reach that part of the story.
If you like you can have three separate dolls for both Adam and Eve. A separate doll for each part of the story.
Go Into All The World And Preach The Gospel
“Go into all the world and preach the gospel to all creation.” Mark 16:15
This commandment from Jesus shows us the importance of witnessing to others. Teach your kids that they can witness anywhere they are and with who ever they are with. They can grow up to be missionaries and preach the gospel around the world or they can witness with their friends at school.
“…and you shall be My witnesses both in Jerusalem, and in all Judea and Samaria, and even to the remotest part of the earth.” Acts 1:8

This simple craft will be a great reminder that they can witness:

At Home
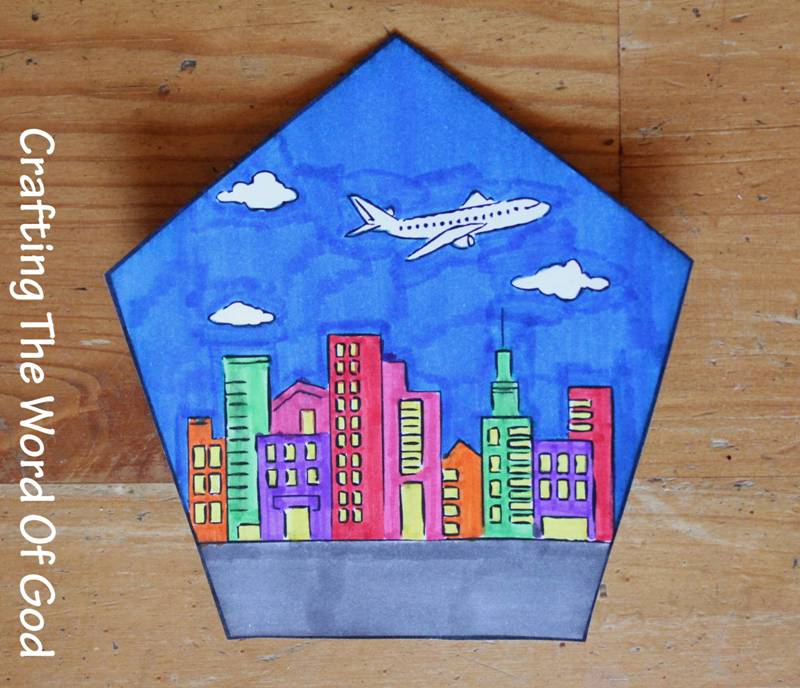
In Their City

In Their State
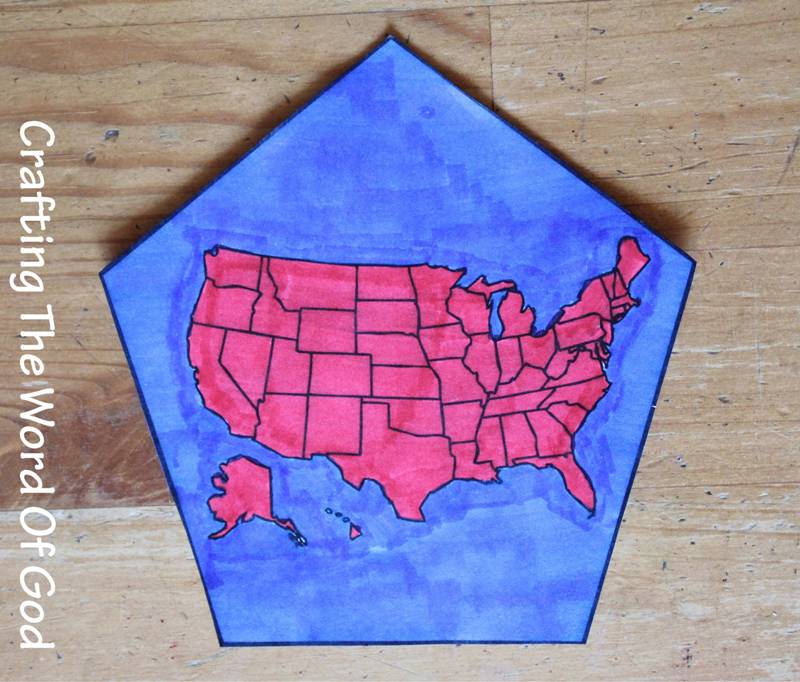
In Their Country
I forgot to include a picture of the continent piece, but it is available in the template.
In Their Continent

And Around The World
Instructions
- Print the template. (Template)
- Color and cut out all of the pieces. For the state pentagon have the kids draw in their state. For the country pentagon have the kids draw in their country. You can also print a picture from the internet and glue it on.
- Glue on the continent to the continent pentagon.
- Hold all the pieces together with a metal brad or metal book ring.
I have included cover pieces if you with to use them. (Cover Template)
Jesus Calms The Storm
This craft is simple, but fun. It will help reinforce the story of Jesus calming the sea. It’s a nice reminder that when the world is raging around us, God is in control of it all.
“35 That evening, Jesus said to his disciples, “Let’s cross to the east side.” 36 So they left the crowd, and his disciples started across the lake with him in the boat. Some other boats followed along.37 Suddenly a windstorm struck the lake. Waves started splashing into the boat, and it was about to sink. 38 Jesus was in the back of the boat with his head on a pillow, and he was asleep. His disciples woke him and said, “Teacher, don’t you care that we’re about to drown?” 39 Jesus got up and ordered the wind and the waves to be quiet. The wind stopped, and everything was calm.” Mark 4:35-39


Instructions
- Print the templates. (Template)
- Color the templates.
- Cut out the templates.
- Make a small hole with scissors or a pin on the black dot in the middle of the circle and on the boat. Stick a metal brad through it. Open and bend the legs.
Now turn the circle. The skies will go from rain and thunder to calm and sunny.
The Plague Of Frogs
Todays crafts are based on the second plague on Egypt, the plague of frogs.
“So Aaron stretched out his hand over the waters of Egypt, and the frogs came up and covered the land of Egypt.” Exodus 8:6
The Plague Of Frogs Mask

Instructions
- Print the template onto cardstock. (Template)
- Color all of the pieces.
- Cut out all of the pieces leaving a white border around each piece.
- Glue each piece to another sheet of cardstock. This will give the mask structure.
- Now cut out all of the pieces again without leaving any white border, including the mouth.
- Glue the small circle to the center of the larger circle.
- Glue the finished eye pieces to the frog face and finally glue on the large popsicle stick.
The Plague Of Frogs Jumpy Frog

Instructions
- Print the template. (Template)
- Color and cut out all of the pieces.
- Fold the tongue along the creases into a fan fold.
- Glue the tongue to the mouth of the frog.
- Fan fold each of the legs.
- Finally glue the legs to the frogs body.
You can also hang this frog from the wall and the legs will dangle.
Frog Infestation
Cover your walls and windows with these cute cut outs.


Instructions
- Print the template. On one side print the frog template and on the other side print a design pattern. You can also have a simple frog by not printing a design pattern on the second side. (Template)
- Color the side with the pattern. In case you are making a simple frog, color in the blank side with whatever design or pattern you wish.
- Cut out the rectangle with the frog pattern on it.
- Fold along the dashed lines. First in half creating a rectangle, then half again to make a square, and finally again to make a triangle.
- Cut out the empty space around the frog pattern.
- Open the folds up and you will have four frogs.
Jacobs Ladder
“11 When he reached a certain place, he stopped for the night because the sun had set. Taking one of the stones there, he put it under his head and lay down to sleep. 12 He had a dream in which he saw a stairway resting on the earth, with its top reaching to heaven, and the angels of God were ascending and descending on it. 13 There above it stood the Lord, and he said: “I am the Lord, the God of your father Abraham and the God of Isaac. I will give you and your descendants the land on which you are lying. 14 Your descendants will be like the dust of the earth, and you will spread out to the west and to the east, to the north and to the south. All peoples on earth will be blessed through you and your offspring. 15 I am with you and will watch over you wherever you go, and I will bring you back to this land. I will not leave you until I have done what I have promised you.” Genesis 28:11-15
God kept His promises that He gave to Abraham. God kept His promises that He gave to Isaac. And here we see a reminder of the kept promises He gave to Jacob in a dream.

Instructions
- Print the template. (Template)
- Color and cut out all of the pieces.
- Fold the long piece on the solid lines creating creases. This will be the staircase/ ladder.
- Glue the ground/earth piece to one side of the staircase piece.
- On the other side of the staircase glue on the clouds.
- Finally glue on the angels.
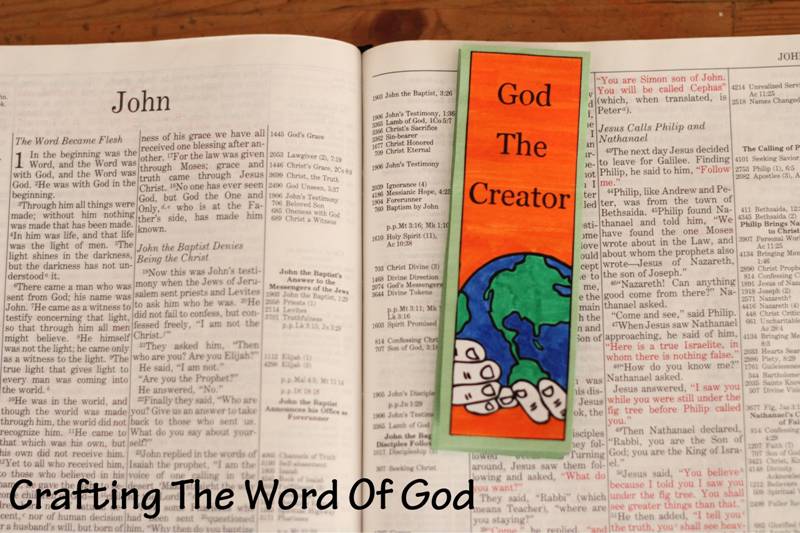
In The Beginning Bookmark
“In the beginning, God created the heavens and the earth.” Genesis 1:1
This cute bookmark will serve as a constant reminder that God is the creator and sustainer of everything.

Instructions
- Print the templates. (Template)
- Color and cut out all of the pieces.
- Grab the blank rectangle and trace it twice onto construction paper.
- Cut out the rectangles.
- Glue the “in the beginning” template onto one of the construction paper cut outs.
- Glue the cloud and z’s to the back of the large template. In between the 5 middle spaces.
- After the cloud and z’s have dried, on the other side, fold on the solid lines creating a crease. Do this for all of the solid lines. The rectangle will fold in on itself into one visible rectangle.
- Add glue to the back of the 1st day square and stick it on the back of the “in the beginning” piece.
- Finally add glue on the empty rectangle, right after the sixth day, and stick it onto the last construction paper piece.
Your kids can now go over the story of creation at any time and will have a wonderful tool to share the story with their friends.
Let Your Light Shine Sun Catcher
“14 You are the light of the world. A town built on a hill cannot be hidden. 15 Neither do people light a lamp and put it under a basket. Instead they put it on its stand, and it gives light to everyone in the house. 16 In the same way, let your light shine before others, that they may see your good deeds and glorify your Father in heaven.” Matthew 5:14-16

Instructions
- Print the template onto cardstock. (Template)
- Cut out the templates leaving a white border around the lamps.
- Glue the templates onto black construction paper. This will help strengthen the craft.
- Cut out the templates from the construction paper, making sure to cut out every area of white space.
- Stick one of the templates onto contact paper or a self laminating sheet.
- Fill in the empty space with colored tissue paper.
- Glue on the other template to the back.
- Finish the craft by adding another sheet of contact paper or another self laminating sheet.
Using double sided tape you can now tape the craft to your house, car or classroom window. Remind your kids that they need to let their light shine before everyone so that people can see their good deeds and give all the glory to God.

You must be logged in to post a comment.