Bible Crafts
We Will Serve The Lord Two Ways
“As for me and my house, we will serve the LORD.” Joshua 24:15
This Bible verse has been memorized at some point in every children’s ministry. This is a great attitude to teach our kiddos and these crafts will be a constant reminder of this.
We Will Serve The Lord Door Hanger
This first craft is a simple hanging sign. After the children finish it they can place it on their bedroom door, on their bed post or even hang off the car rear view mirror.

Instructions
- Print the template on cardstock. (Template)
- Color and cut out all of the pieces..
- Glue the three large rectangular pieces together from biggest to smallest.
- Then glue on the Bible verse piece.
- Lastly cut out the space to be able to slip it onto the door knob.
If your kids like they can then add stickers, jewels, or draw on designs. Let them use their imagination.
We Will Serve The Lord Table Top
I found this version online and immediately fell in love with it. Sadly no template was available. So I decided to come up with my own. Place this finished craft on your mantle or table.
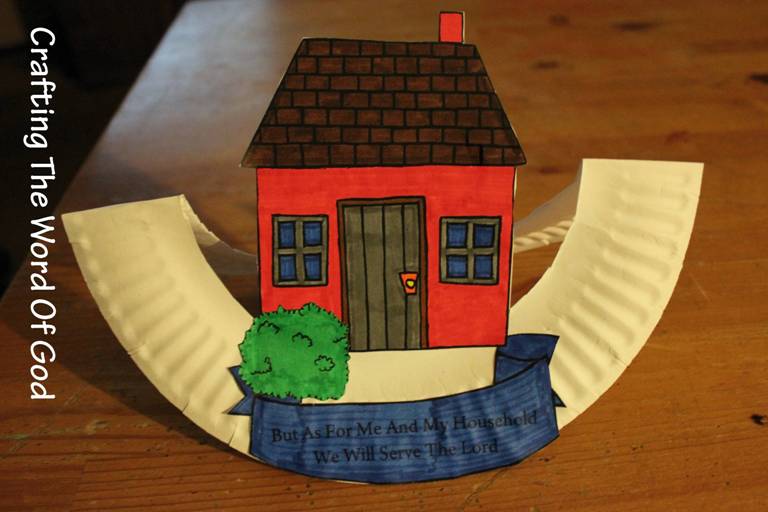
Instructions
- Print out the template. (Template)
- Color everything.
- At this point if you choose you can paint the paper plate.
- First glue the banner onto the paper plate.
- Then the house and finally the bush.
- Cut out the center circle of the plate cutting around the house.
- Then fold the plate in half to form the stand.
Mosaic Cross
The kiddos will love creating this colorful mosaic craft! Perfect for Easter or whenever you study the story of Jesus’ crucifixion and resurrection.

Extra Ideas
You can also cut out the pattern cross intact (in the shape of a cross). Glue it onto the main cross and then fill in the spaces in between using glue and glitter.
Instructions
- Print the templates onto pieces of card stock. (Template)
- Cut out the main cross and each piece of the pattern.
- Using the pieces you just cut out, trace them on different pieces of colored construction paper.
- Cut them out.
- Glue the pieces of construction paper onto the main cross.
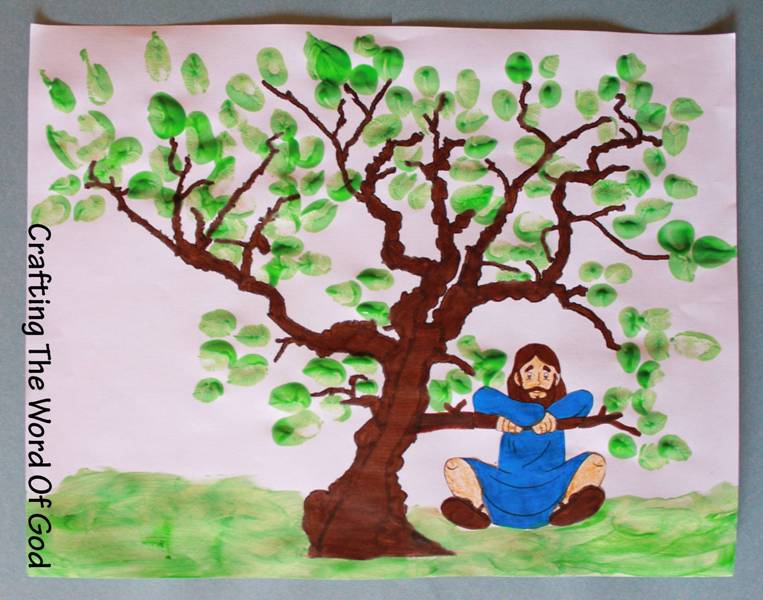
Zacchaeus
Zacchaeus was rejected by the people around him. But Jesus didn’t reject Zacchaeus. Jesus was full of compassion. This craft helps the kiddos remember that Jesus came to seek and save those that were lost. Jesus offers salvation to everyone who comes to Him in repentance and faith. Jesus will not reject anyone who truly repents of their sins and places their faith in Him.
“All that the Father gives Me will come to Me, and the one who comes to Me I will certainly not cast out.” John 6:37
Added Suggestions
You can also use green leaves made out of construction paper.
For the story of the burning bush you can glue red, yellow and orange tissue paper.
Instructions
- Print the templates. (Zacchaeus)
- Color the tree outline and Zacchaeus.
- Cut out Zacchaeus.
- Have the kids dip the tip of their finger into green paint. They can then, randomly paint the leaves on the tree. They can be creative by using different shades of green.
- Glue Zacchaeus next to the tree. Using the same brown crayon, color pencil or marker you used to color the tree, draw a branch for Zacchaeus to hold on to.
- Using green paint, paint the grass under the tree.
Ezekiel Preaches To The Dry Bones Sandbox Treasure Hunt
Kids love sticking their hands in the sandbox on a warm day. As a kid that was the first thing I did when we would go to the park. This simple activity helps reinforce the story of Ezekiel and it will only cost a couple of bucks to do this. Plus it offers countless hours of fun.
Buy a bag or two of plastic bones. You can get then all the same size or mix and match.

Bury the plastic bones in a sandbox in different depths. You can provide your kiddos with shovels, brushes or they can dig right in and use their hands. Remember to count how many you buried so you know if your kids have dug them all up.
This activity can also be adapted for any bible lesson. Just buy plastic toys in the shapes and sizes you will need for your lesson.

Goliath BullsEye Target
David and Goliath is the story of a young boy named David who wins a battle against a giant named Goliath through the power and dependence on God. Goliath is very intimidating and none of the Israeli trained soldiers dare to challenge him. Yet with God’s help David is able to take him on armed only with a slingshot and stone, without even wearing any armor to protect him. This game helps illustrate this famous story and can help teach children to allow God to fight their battles for them and to have faith in the strength of God, even against great odds.

You can use a variety of items when you play this game to try and land them on the target. A few ideas: small/aquarium sized stones, gray clay dried out to resemble stones, small bean bags, crumpled pieces of gray construction paper. If you laminate the target you can flick dimes as if you were playing shuffleboard. And for your older kids, if you trust them enough :), you can enlarge it and pin it behind a cork board. They can then try to hit the target using darts.
Instructions
- Print the template on cardstock. (Template)
- Color and cut all three pieces.
- Glue the target onto the face piece.
- Finally glue the smallest piece on top of the target piece.
Optional: Laminate the target using self laminating sheets or contact paper.
I Can Pray
Children should be taught how to pray at a young age. Tell them what prayer is. Give them examples of prayers in Scripture. Tell them they can pray throughout the day wherever they are. Christians can have faith in the promises of Gods Word. The Bible tells us that “the eyes of the Lord are toward the righteous And His ears are open to their cry.” Psalm 34:15
This craft will serve as a reminder and let the kids know they can pray at any time.
I Can Pray When I…
Play

Go To Bed

Eat

Do My Chores

Instructions
- Print the templates. (Template)
- Color both circles.
- Cut out both circles.
- Glue both circles onto a piece of construction paper or cardstock for strength. Optional
- Make a small hole into the middle of the circles. Stick a metal brad through it. Open and bend the legs.
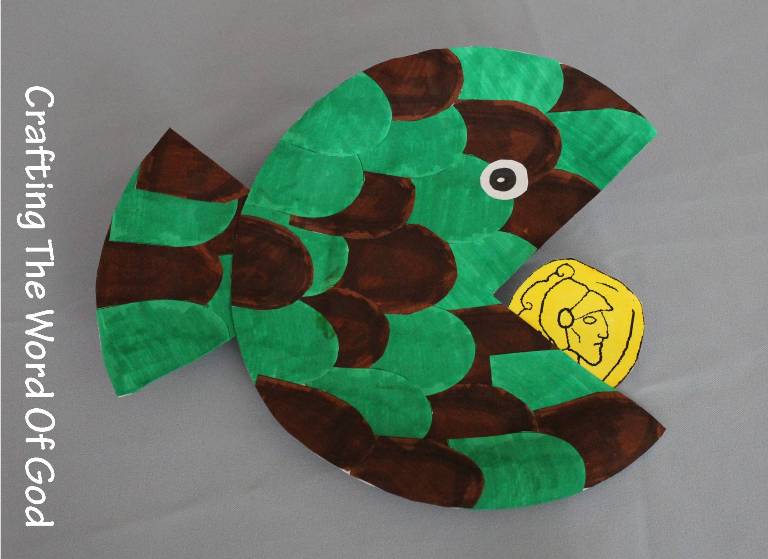
The Miracle Of The Fish And The Coin
Jesus did many miracles while on earth. One that is generally not talked a lot about was telling Peter to open a fish’s mouth and having him find a coin inside. This would be a great story to do for your children’s ministry.
Instructions
- Print out the template. (Template)
- Color in the coin.
- Cut out a triangular shape from a paper plate. The triangular piece will be used as the fin.
- Cut out the scale, the coin and the eye.
- Use the scale as a template and trace it onto different colored construction paper.
- Cut out the scales from the construction paper.
- Glue the scales onto the fish in a random or specific order. Use your imagination; you can get amazing color combinations.
- Glue scales onto the fin in the same order as the body of the fish.
- Cut off any excess scales from the rim of the paper plate and fin.
- Glue the fin to the body.
- Finally glue the eye and the gold coin to the fish.
Joseph Interprets Pharaoh’s Dream
God gave Joseph amazing dreams, but time and time again Joseph goes through many difficulties and tribulations. During this difficult time he never gets angry at God or shows any resentment towards Him. Joseph completely trusted God because he knew that God never abandoned Him. One day God gives Pharaoh two strange dreams that no one seems to be able to interpret. Luckily for the Pharaoh there is one man in prison who can give him the meaning behind his dreams. A God fearing man who would rise to become second in command over Egypt and be used by God to save the nation of Israel.

Instructions
- Print the template. (Template)
- Color and cut out each piece. Make sure to leave the blank rectangle attached on the nose.
- Glue the body of the cow onto a piece of cardstock or construction paper.
- Next glue on the head to the body on the same piece of construction paper.
- Cut out the figure.
- Fold the blank rectangle on the nose back and then glue the nose to the head of the cow. The top ridge of the nose will align with the 4 dash lines on the cows head.
- Glue the cow foot to a popsicle stick and allow it to dry.
- Make a small cut with scissors or a knife on the tongue, just big enough for the popsicle stick to be able to go through it.
- Stick the popsicle stick inside through the slit.
From the back of the cows head the children will be able to move the popsicle stick up and down, back and forth. This will make it appear as though the leg is moving inside the mouth.
Feeding The 5,000
Jesus feeds 5,000 is also referred to as the fishes and loaves miracle. This is a quick and easy craft so the kiddos will remember your Bible lesson.

Instructions
- Print the template. (Template)
- Color and cut out each piece.
- Glue the fish and loves behind the basket in a random order.
- Glue the whole thing onto a piece of construction paper or cardstock.
- Cut out the whole figure.
- Your kids can write the memory verse on the back.
If you decide to use the small template, after the kids have finished it you can glue a magnet to the back and they can place it on their fridge.
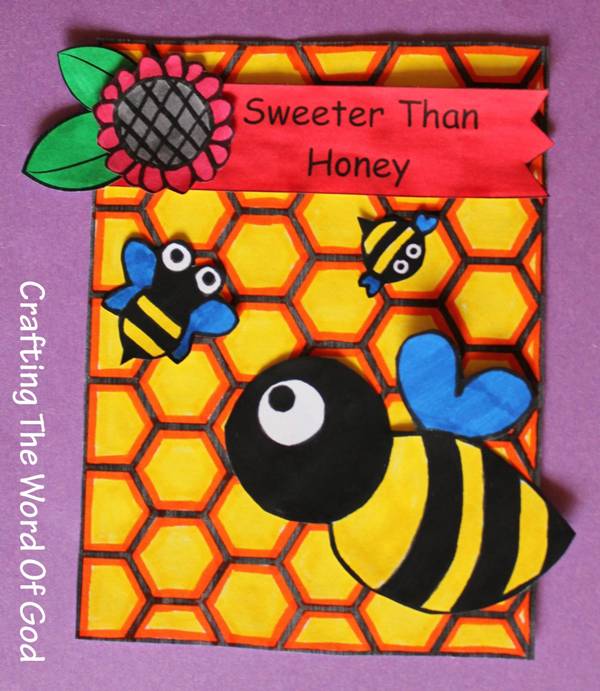
Your Word Sweeter Than Honey
“How sweet are your words to my taste, sweeter than honey to my mouth.” Psalm 119:103
This is the attitude our children should have towards God Word. We should teach them to desire Scripture. Children should want to read it. They should want to memorize it. Our goal should be that through the work of the Holy Spirit, the authoritative truth of the Bible might be understood and embraced so students may see and interpret all of life through the truth of Scripture.
Instructions
- Print the template. (Template)
- Color and cut out each piece.
- Glue the honeycomb onto a piece of cardstock or construction paper for strength.
- Trace each hexagon with orange marker. Alternatively you can also use glitter glue around each hexagon.
- Glue the leaves to the side of the flower.
- Glue the banner onto the honeycomb and then the flower to the banner.
- Finally glue the bees onto the honeycomb.

You must be logged in to post a comment.